

If you’re going to be studying in the Philippines for a while, it’s really important to set up an internet connection.
How much does a SMART SIM cost? Expensive?
Should I buy SIM at the airport?
What kind of documents do I need?
This article will provide detailed information on the local SIM situation and how to set it up!
Two SIM brands: SMART and GLOBE.
There are two well-known brands of SIM cards in the Philippines. These are “SMART,” which we will introduce here, and its rival company “GLOBE.

Each area has its own strengths and weaknesses. For example, 👨”SMART is easily connected in this area” etc…

If you are getting a SIM after you arrive in the area, you should ask the school staff, “Which one is easier to connect to?” and then decide which SIM seems to be stronger in your area.
If neither changes, I suggest SMART, which has an unlimited plan.
Preparation for SMART Registration
I will now explain how to register your SMART SIM. To use mobile data, you need to do two things.
- Registration of personal information
- Select and purchase a data plan
And to complete 1 and 2, the following preparations are required.
What to Buy
- SIM card
- Load card
┗ I recommend 400 pesos worth.
Documents
- Passport, image of the page with your photo
- Images of school enrollment certificates
- Image of e-ticket for outgoing flight┗
information
- Passport Number
- Address of your study abroad destination
These must be prepared in advance. The reason why is because this is what happens.
(In process…)
I need an image of your flight ticket, I see. Then I’ll start up the camera and take an image of the e-ticket…
Upload on the original screen….
It has automatically returned to the first screen!
I have to start all over again from entering the one-time password!
Yes, even the slightest interruption in SIM registration will result in a high probability of being returned to the top screen.
The information you had entered is not retained, and you have to start over from the beginning. You must start from the point where you receive the one-time password.
It is tedious to enter the same fields over and over again, so be sure to prepare well in advance.
SMART sim registration procedure
From here, will show you how to register SMART sim based on actual screens and operations.
The procedure is as follows.
- ①Insert SIM card
- ②Enter One Time Password
- ③Enter personal information
- ④Enter information about your stay
- ⑤Final confirmation
- ⑥Wait for registration to complete (within 24 hours)
- ⑦Select and purchase a plan
Also, these operations require data communication and SMS, so be sure to do them in an environment where you have a Wifi connection and can receive SMS.
Step 1: Insert the SIM card
Here is the package with the SMART sim card in it.
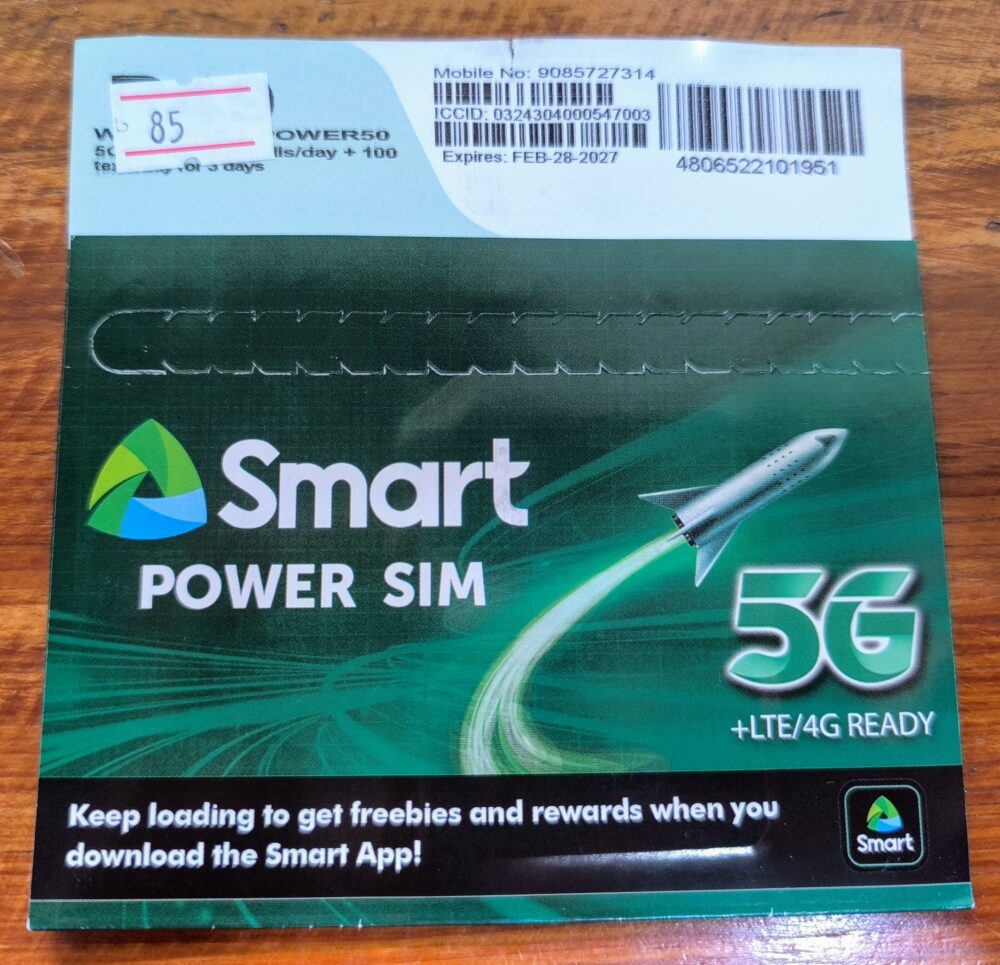
It comes in a paper like gift card. The price at my school was 85 pesos.
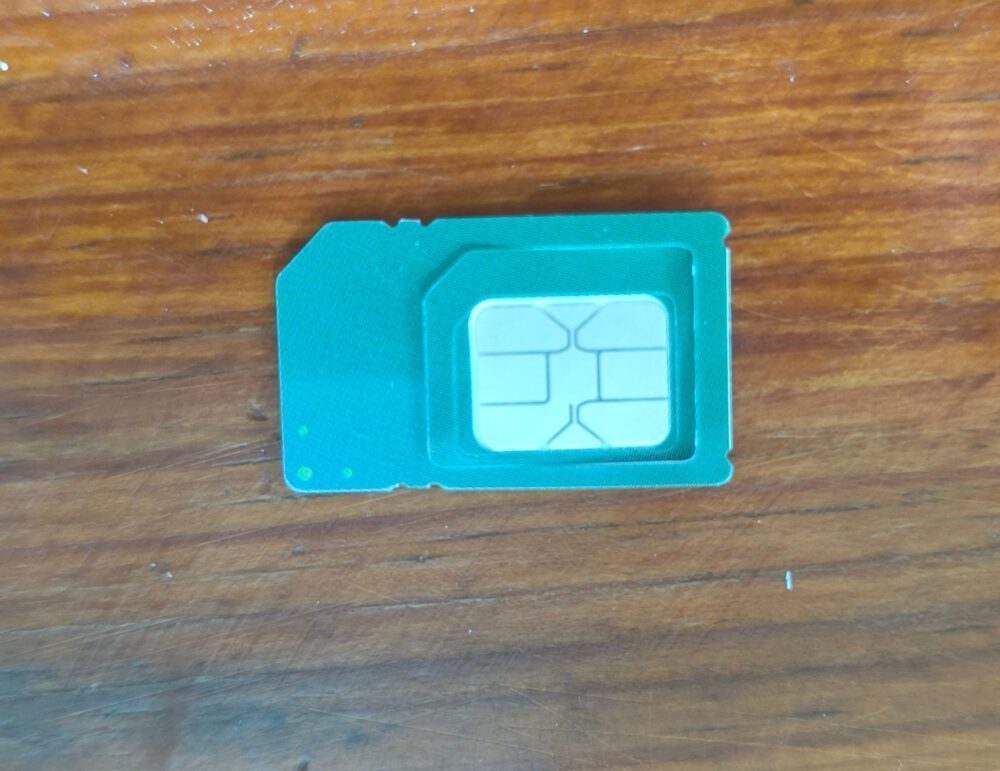
When you open the inside, you will find a sim card enclosed in a white plastic mold. It seems to be compatible with both nano SIM and micro SIM in terms of size.
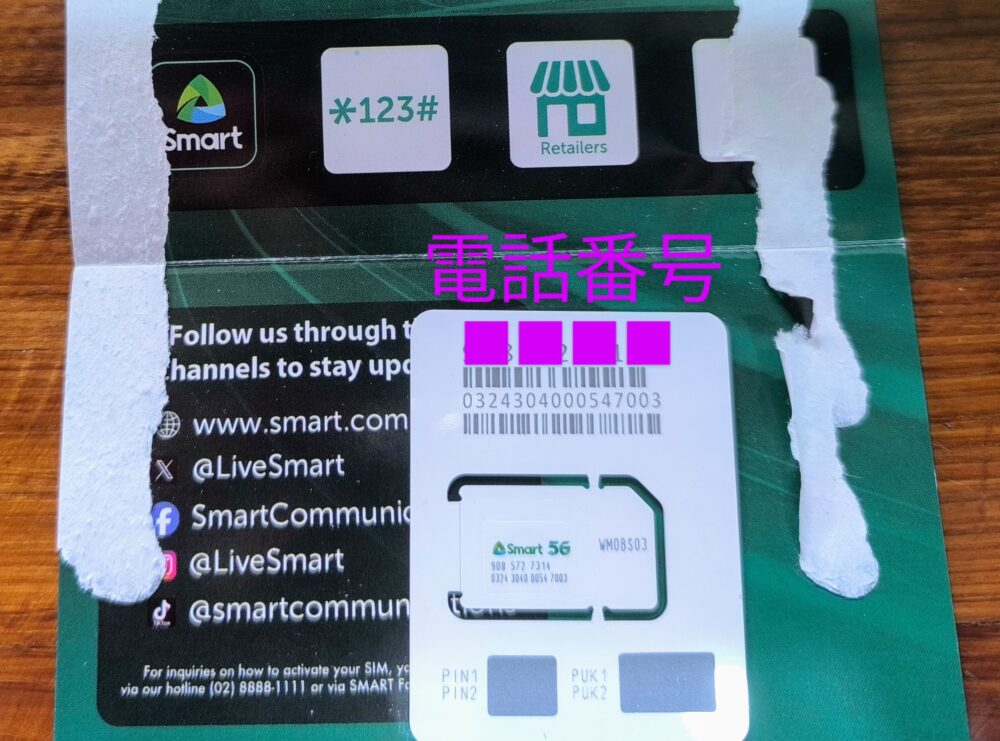
Remove it from the mold and insert it into the SIM card slot of the phone. The SIM pin for opening the slot is not included, so ask the store where you purchased it to lend you one.
Also, the number on the top of the plastic mold is a phone number. Keep it, don’t throw it away, as you will need it right after this.
Step 2: Enter the One Time Password
Once the SIM card is recognized by your phone, you will automatically receive an SMS. When I registered, I received it within 5 minutes.
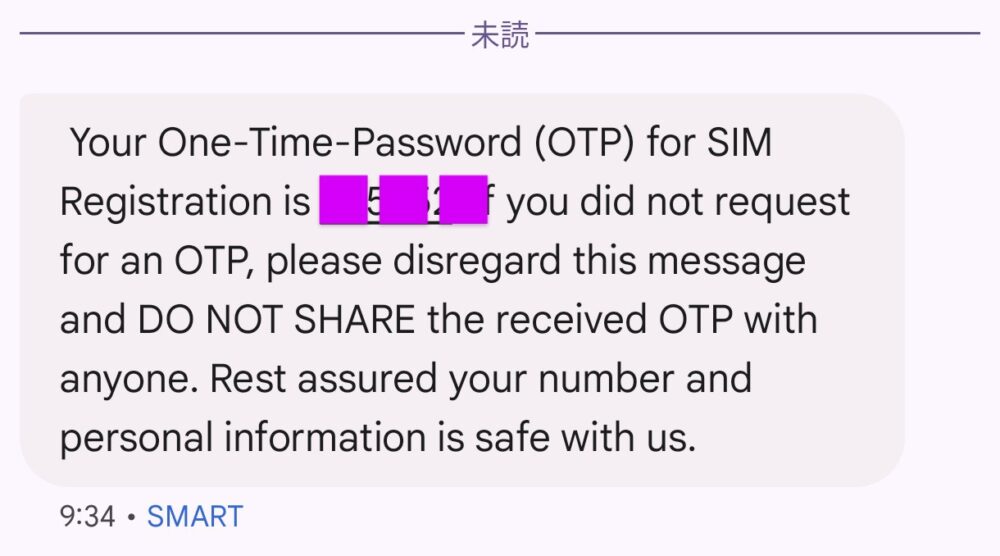
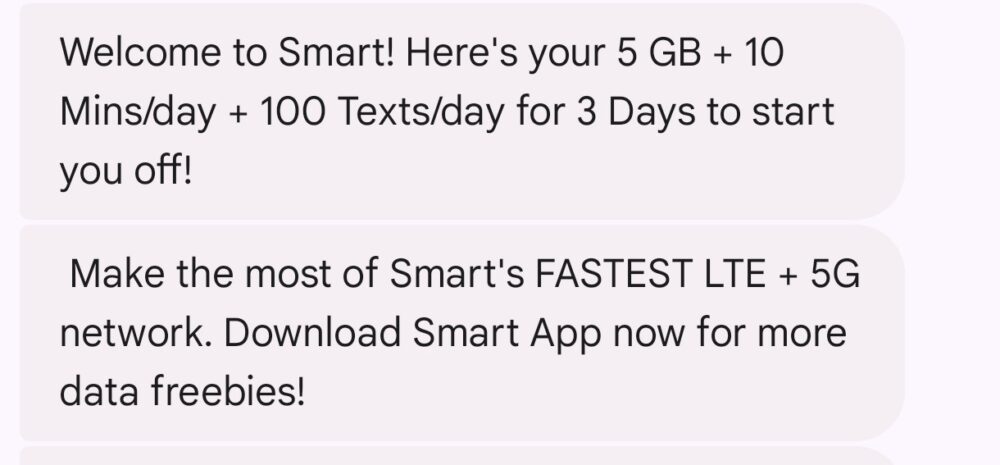
Here is the message I received at that time.
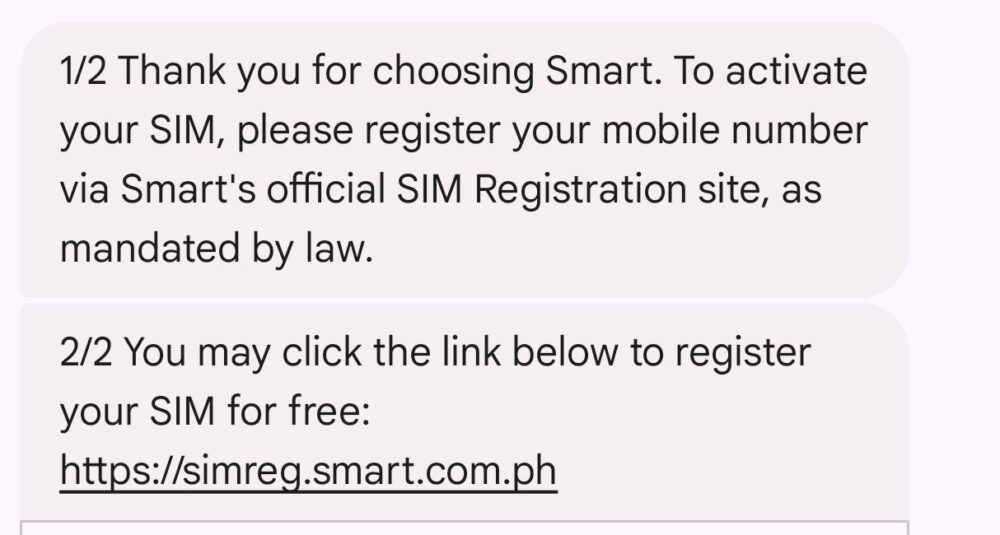
Tapping the URL in the message will take you to the SIM registration screen. The following screen is the top screen.

Scroll further and you will be required to enter a one-time password.

Enter the phone number into the upper block. The number is the one on the plastic plate where the SIM card was located.
Enter the number and tap the “SEND OTP” button.
In doing so, place a ✓ in the “I have read…” field listed below. This is a statement of agreement to the Terms of Use.
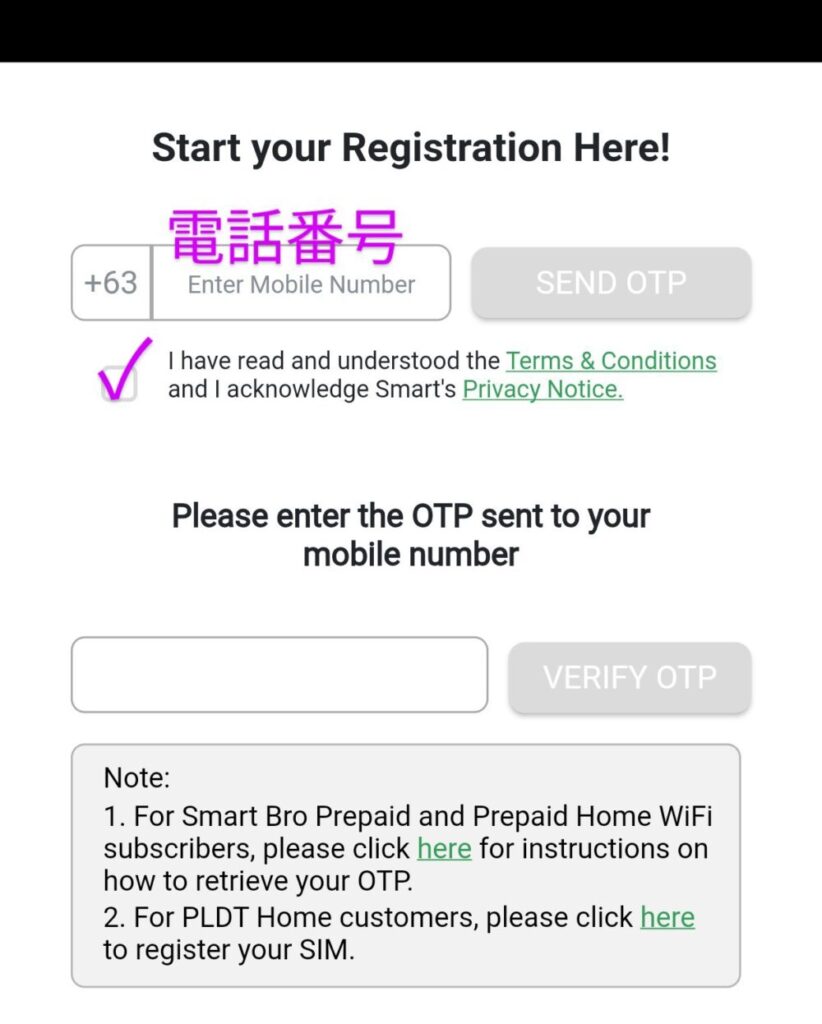
You will soon receive a 6-digit OTP (One Time Password) in your SMS message.
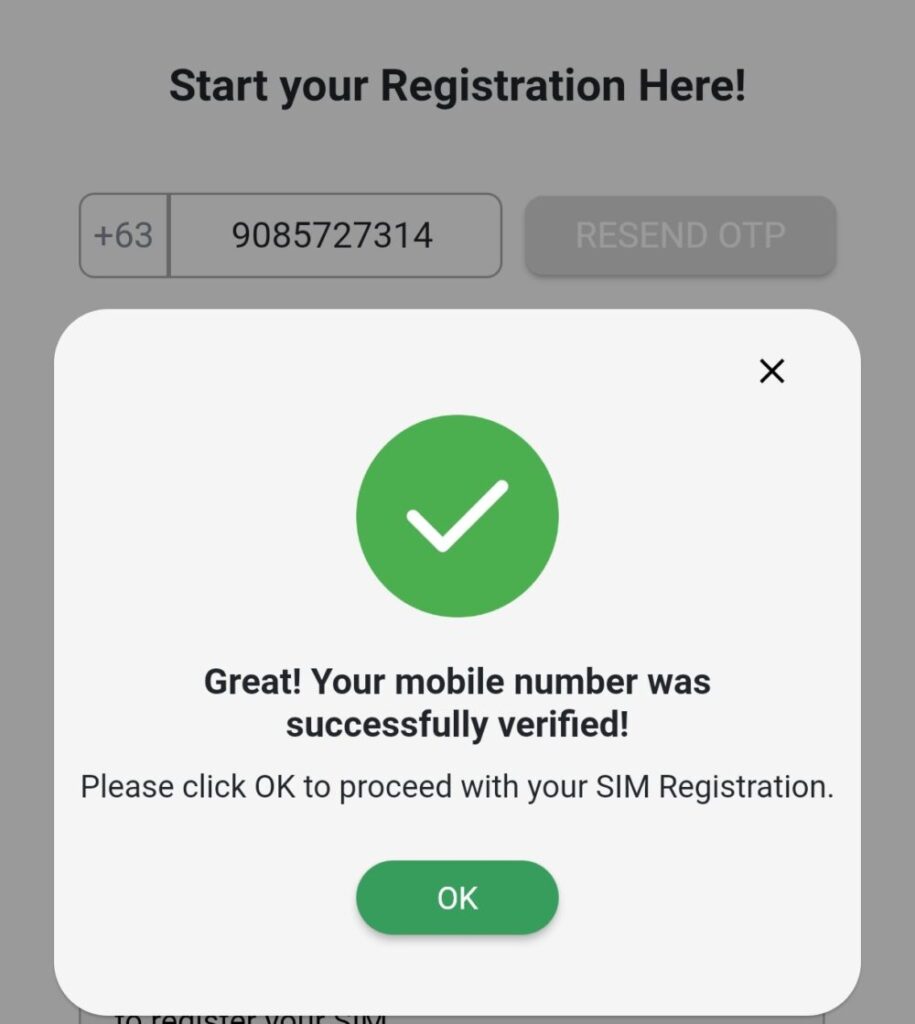
この番号を下側のブロックに入力し、「VERIFY OTP」をタップ。そうすると個人情報を登録する画面に遷移します。
Step 3: Enter personal information
Then move on to entering personal information.
Here, you will need your passport image.
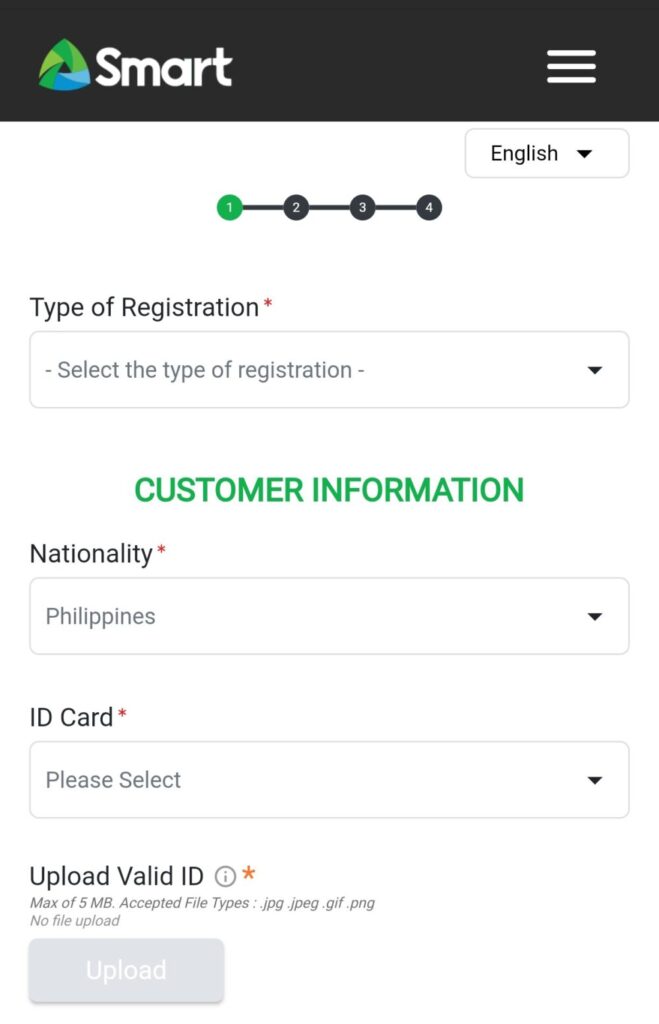
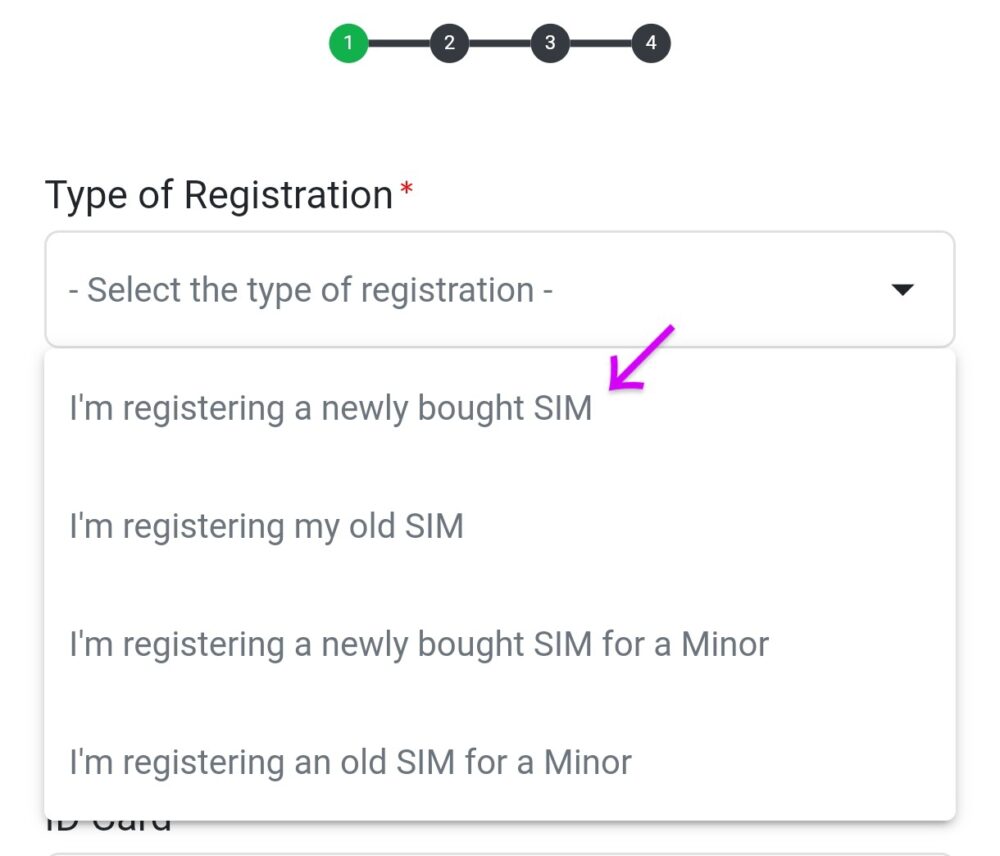
The first item is “Type of Registration”, which describes the purpose of SIM registration.
Select “I’m registering a newly brought SIM” as most of you will be registering for a new SIM.
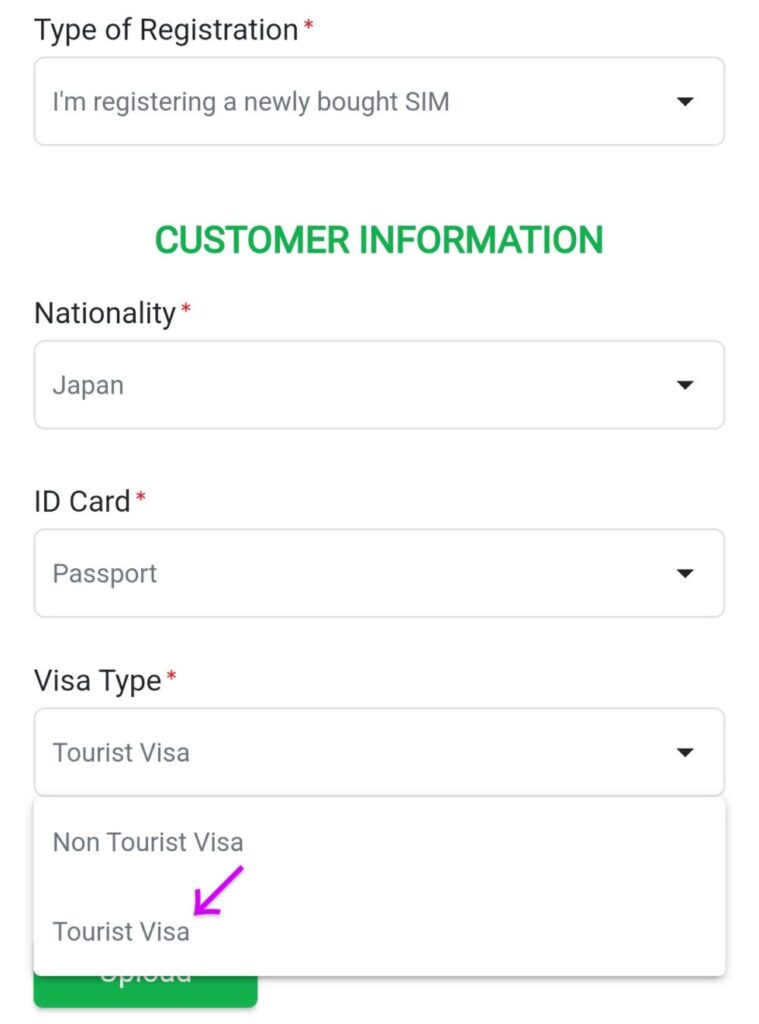
Next is “nationality”
If you choose a non-Filipino nationality, you will only need your passport as proof with the following “ID Card”.
When you select “Passport”, you will be asked for your “Visa Type”. Please select “Tourist Visa” at this time. This is because foreign students generally obtain a tourist visa.
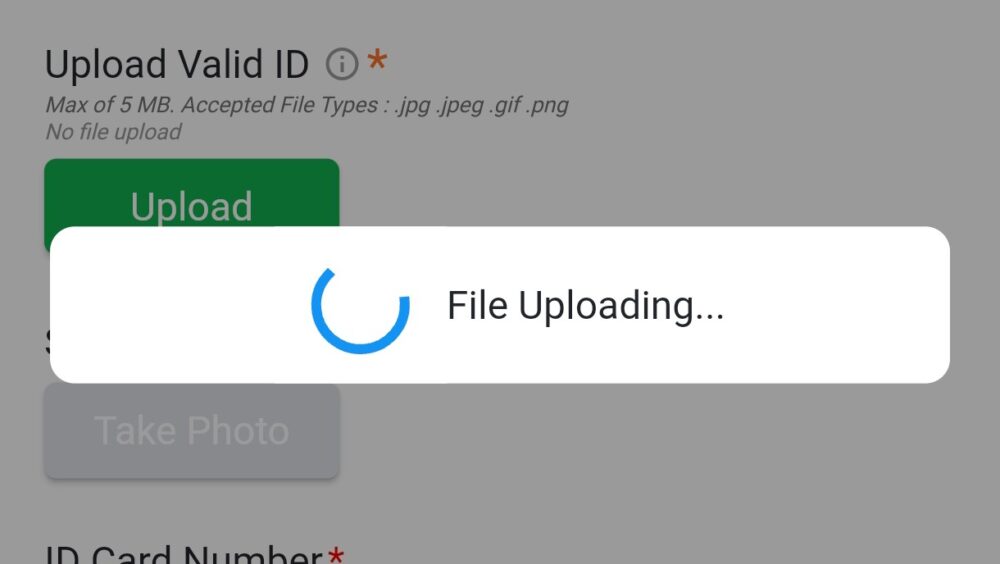
From here, you can upload your image. Click the “Upload” button to register the image of the passport photo page that you have prepared in advance.
It says that images are limited to 5 MB, but try to keep the size as small as possible.
When the upload is complete, the image name will appear in blue text.
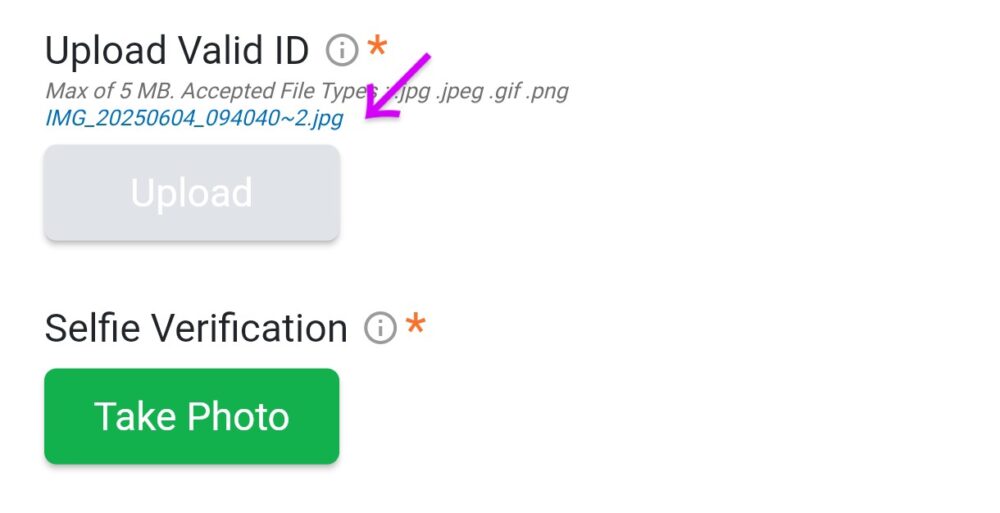
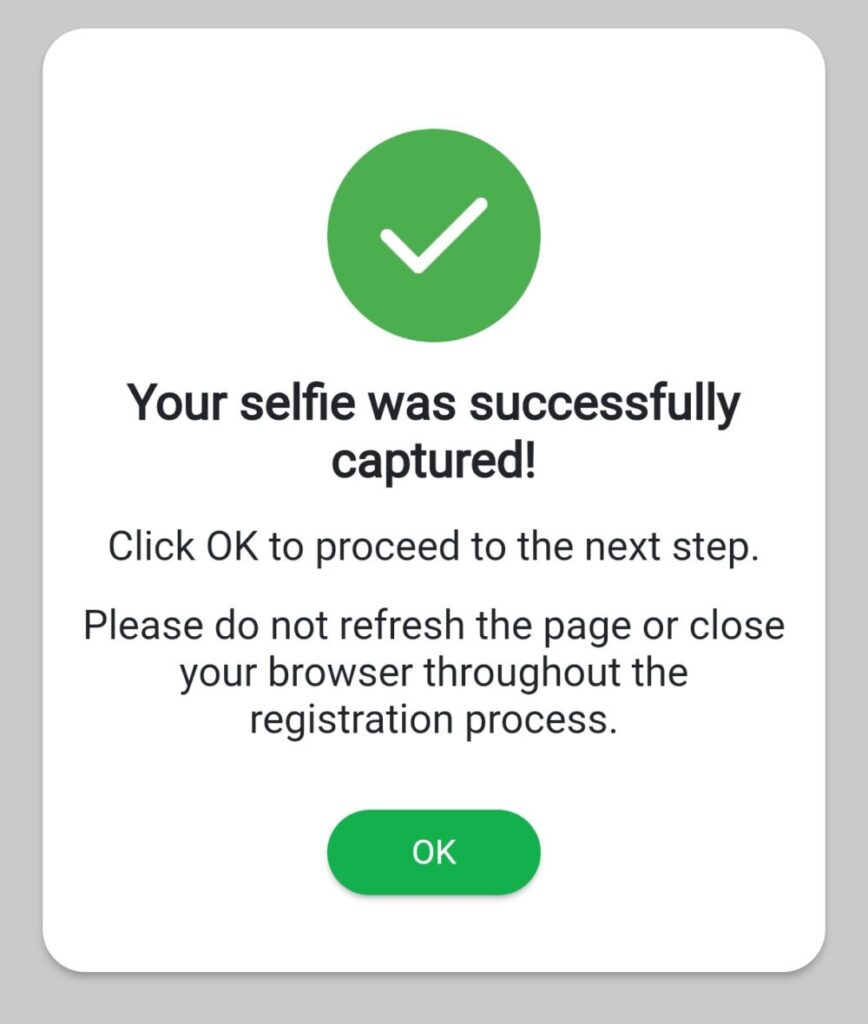
The next step is “Selfie Verification”, i.e., authentication with a selfie.
Tap “Take Photo” to launch the camera application and bring your face close enough to fit in the frame.

When the device is authenticated at just the right distance, the message “blink” will be displayed. Blink once to complete the authentication.
Then enter your personal information.
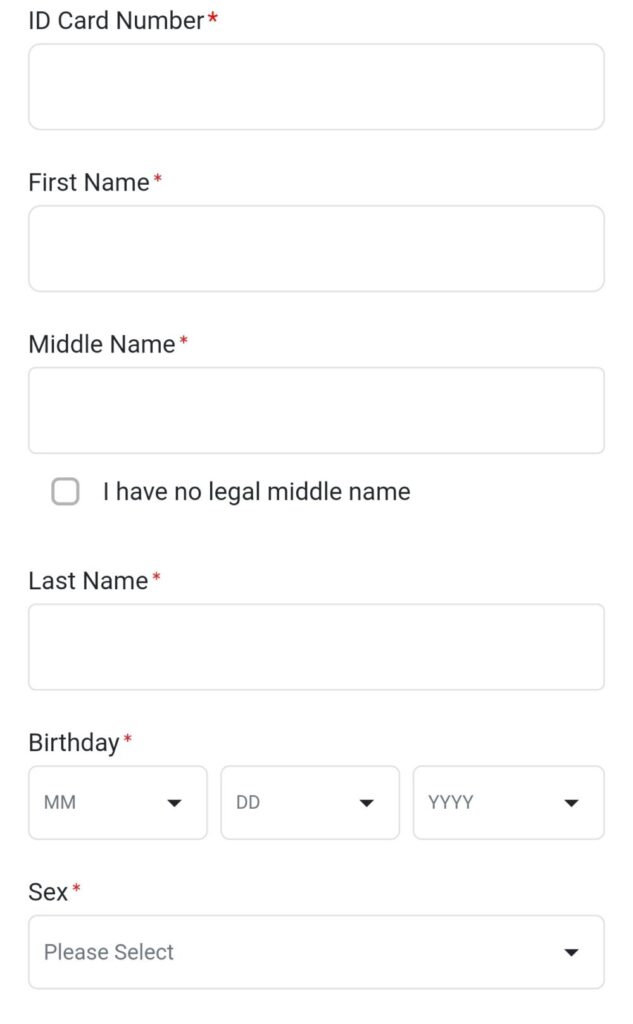
Fill in all of the above information, and tap the “NEXT” button when you are finished.
Step 4: Enter information on your stay
The next step is to enter your accommodation information.
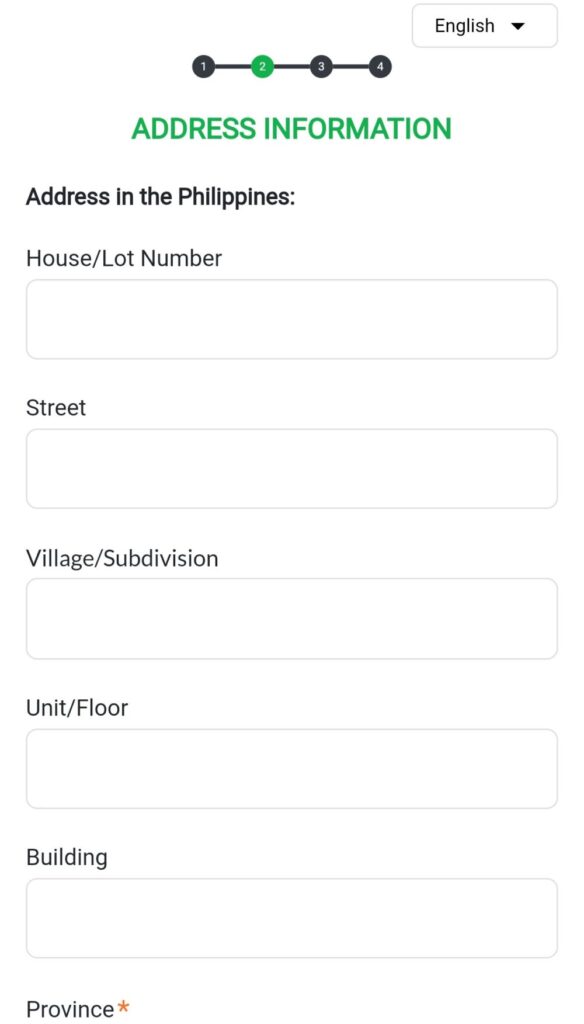
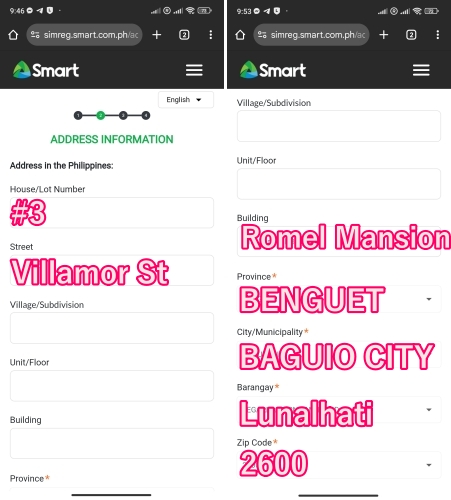
I enter an address, but it is categorized in detail and it is difficult to know what to write.
It is important to note the required fields marked with *.
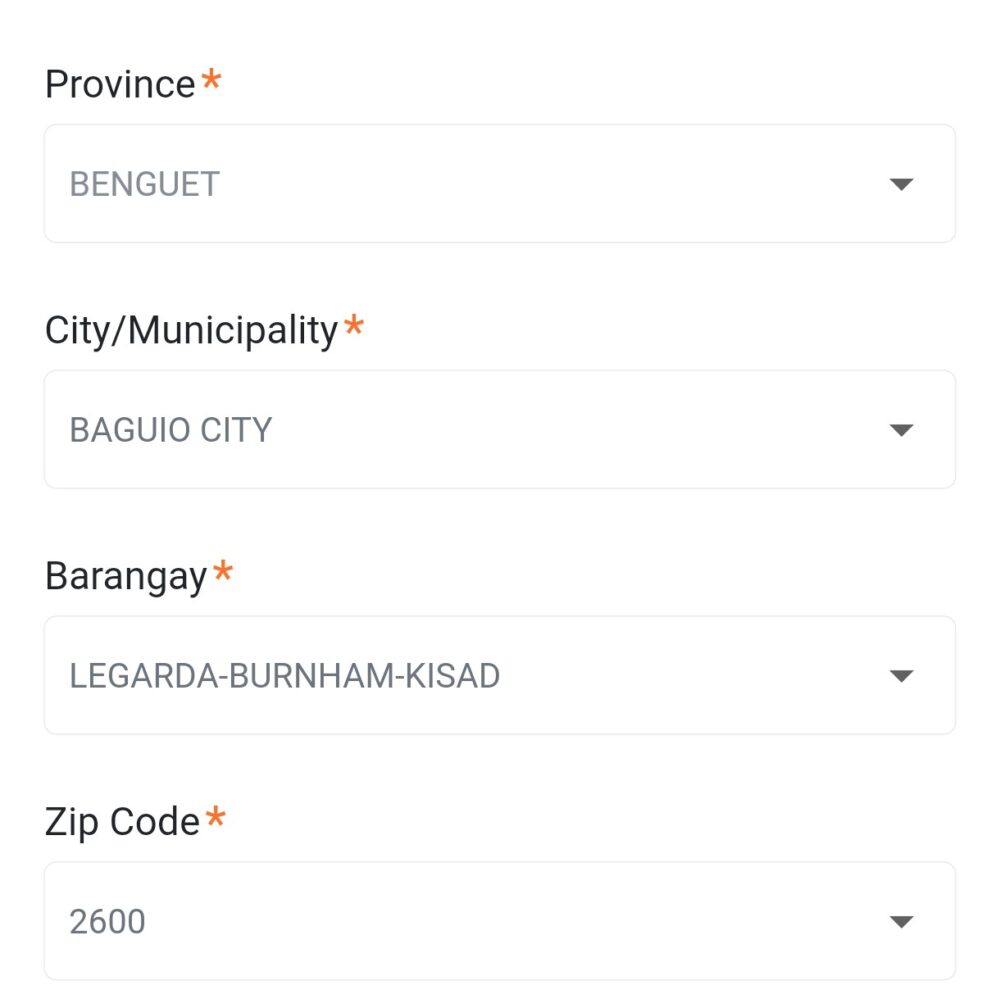
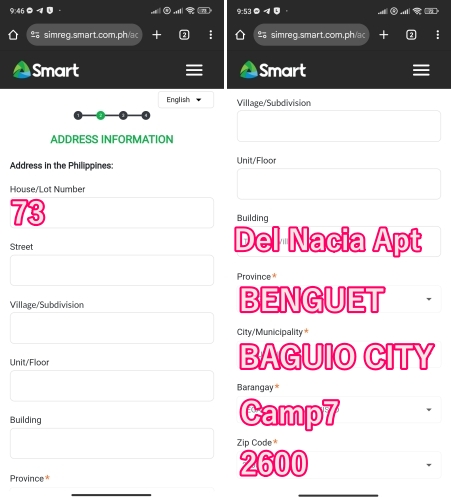
The “Province”, “City/Municipality” and “Zip Code” are the same for all schools in Baguio.
”Province”…BENGUET
”City/Municipality”…BAGUIO CITY
”Zip Code”…2600
”Barangay” depends on the area of each school, so if you are not sure, the fastest way is to ask the school staff.
The remaining addresses are listed on the school’s website or certificate of enrollment, and should be entered by referring to them.
If you know the room you live in, you can enter information such as Floors.
e.g.1) PINES Main Campus
e.g.2) JIC Challenger Campus
After entering the address where you will be staying, scroll down further and you will be asked to submit two documents.
- Documents of address in the Philippines
┗ certificate of enrollment - Return ticket on own country
┗ Return ticket or discarded ticket
If these two uploads are also successful, the name of the image will appear in blue text.
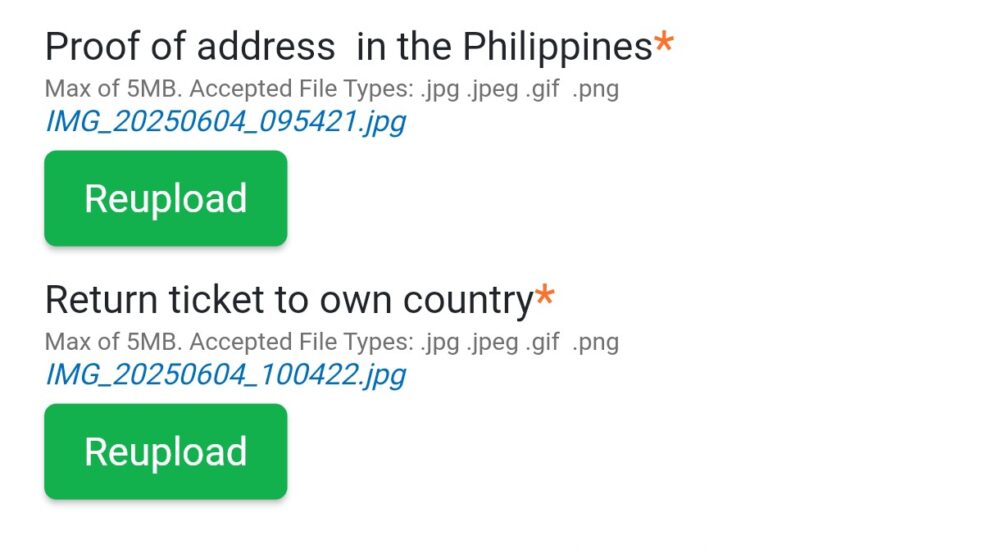
In my case, I took a photo of the PDF on my computer screen with my phone and submitted it. I was still able to register successfully.
The last section is “ALTERNATE CONTACT INFORMATION,” i.e., emergency contact information.
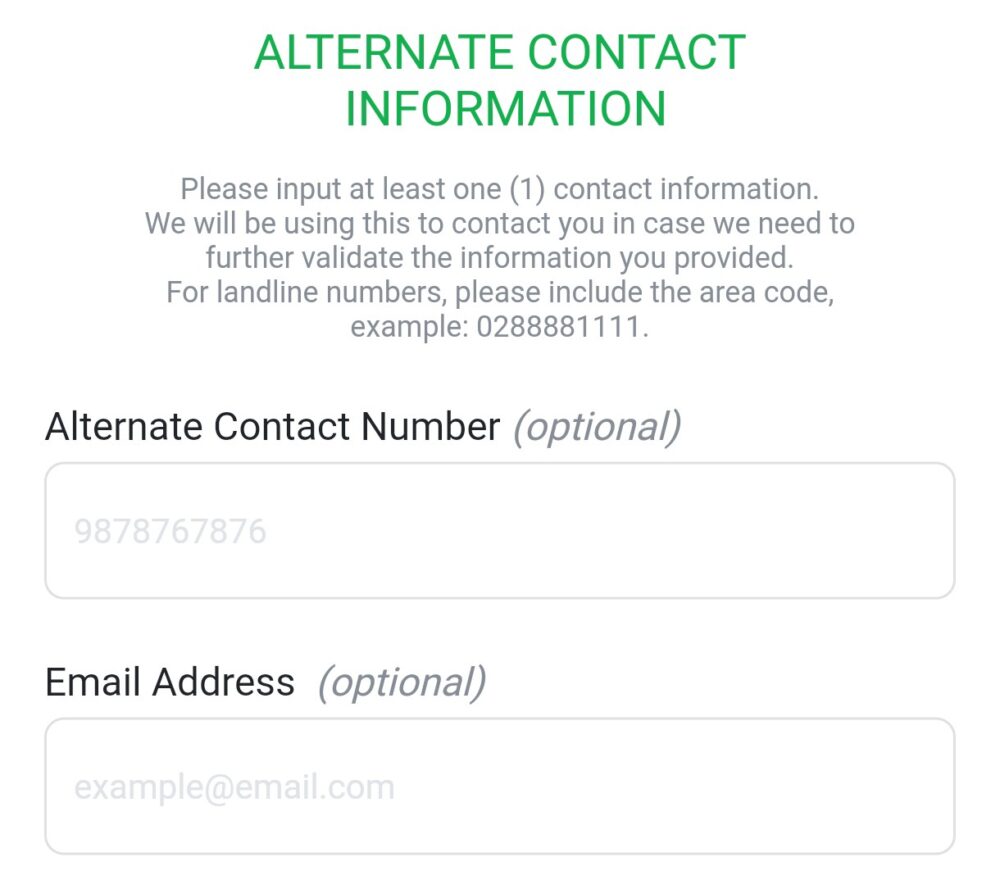
However, it is optional, free description, so it is not required. It might be a good idea to include at least an e-mail address.
Step 5: Final confirmation
The third page is for final confirmation only. Check that the information you have entered is correct, and if so, place a ✓ in the box below the information you have entered and click “SUBMIT”.
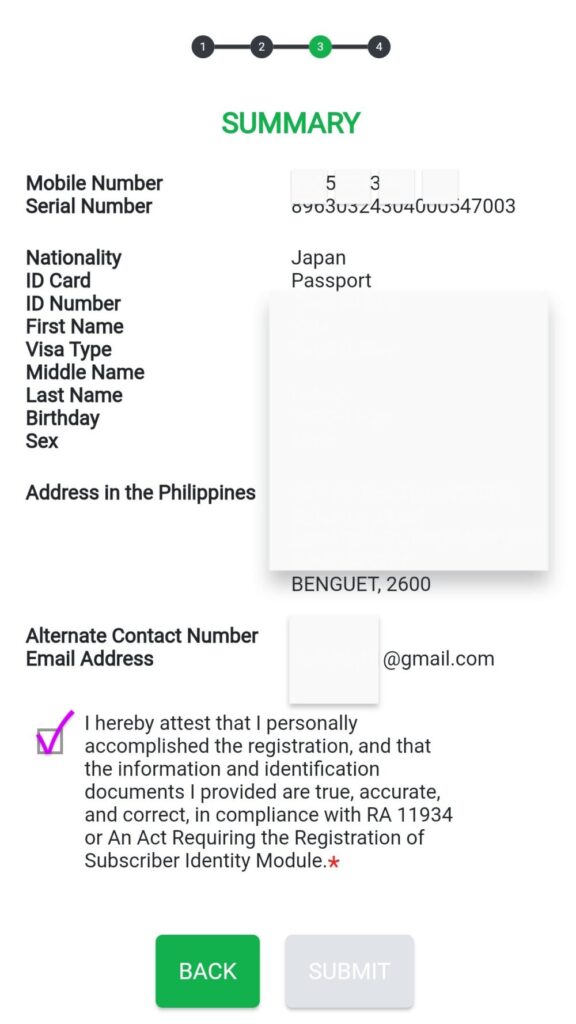
The questions under “SUBMIT” can be ignored, as they are about whether or not information such as promotions is required.
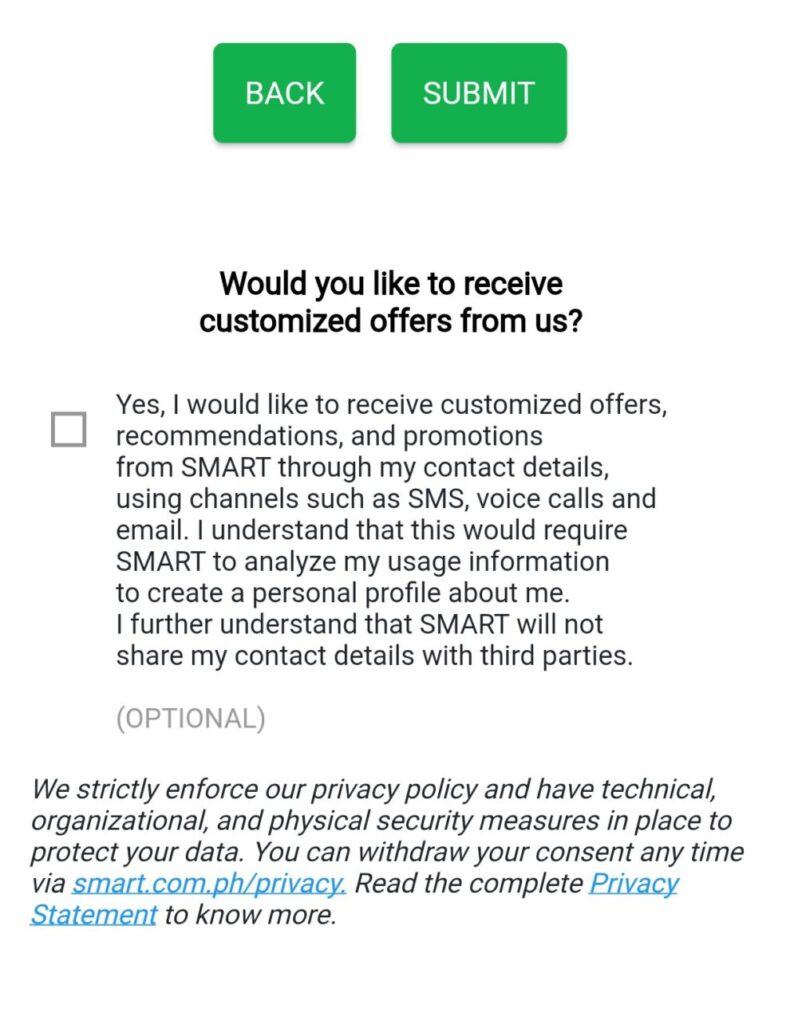
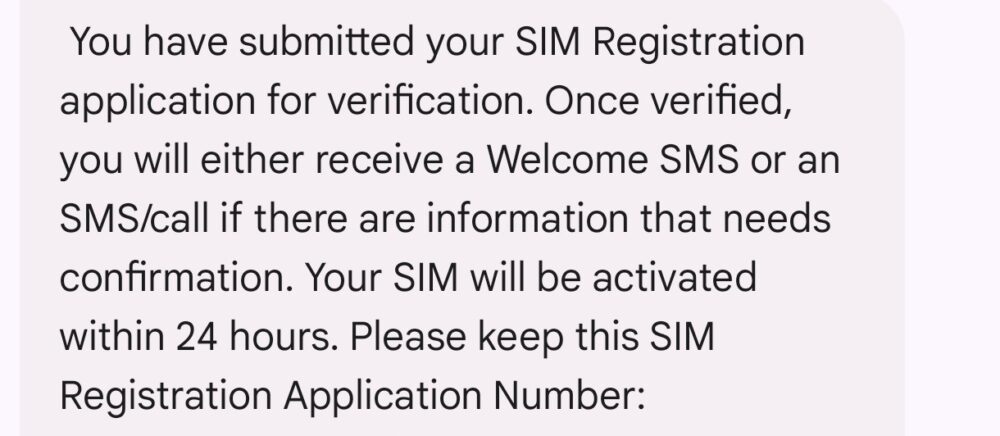
After SUBMIT, you will be taken to the screen where your application is complete.
If all the information and documents submitted are complete, you will receive an SMS within 24 hours stating that your registration has been completed.
You will also receive a message confirming that your application is complete.
Step 6: Wait for registration to be completed (within 24 hours).
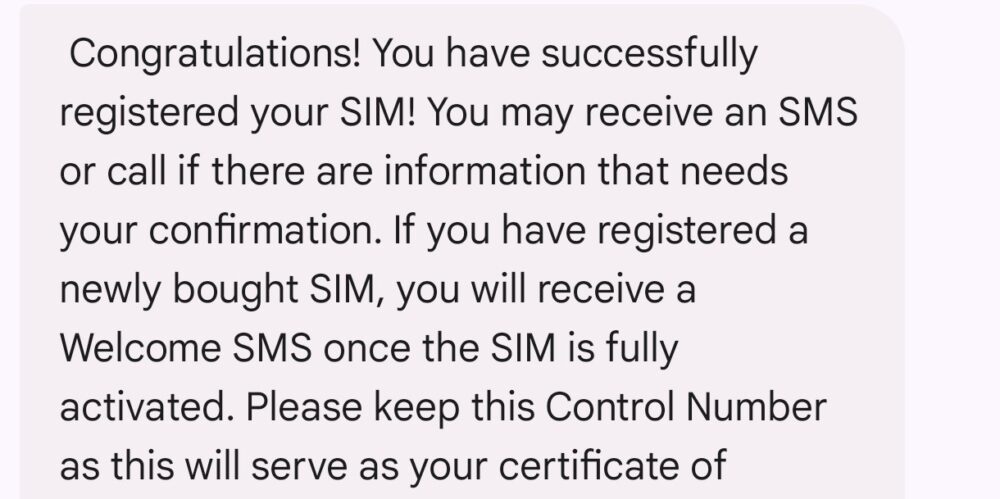
After a while you will receive a message letting you know if you have successfully registered.
If you receive a message beginning with “Congratulations!…”, it means that your registration has been successfully completed.
Try to connect without Wifi here. If you have successfully registered, you should already be connected.
This is because it comes with a free 5GB promotion for the first 3 days. Conversely, after 3 days, data is no longer available.
To continue using the service, you will need to select and purchase a plan.
Step 7: Select and purchase a plan
Once you have registered your SIM, the next step is to select and purchase a plan. When purchasing a plan, you will need what is called a load card.
In my neighborhood, a load card for 100 pesos could be purchased for 110 pesos and a load card for 300 pesos for 315 pesos.
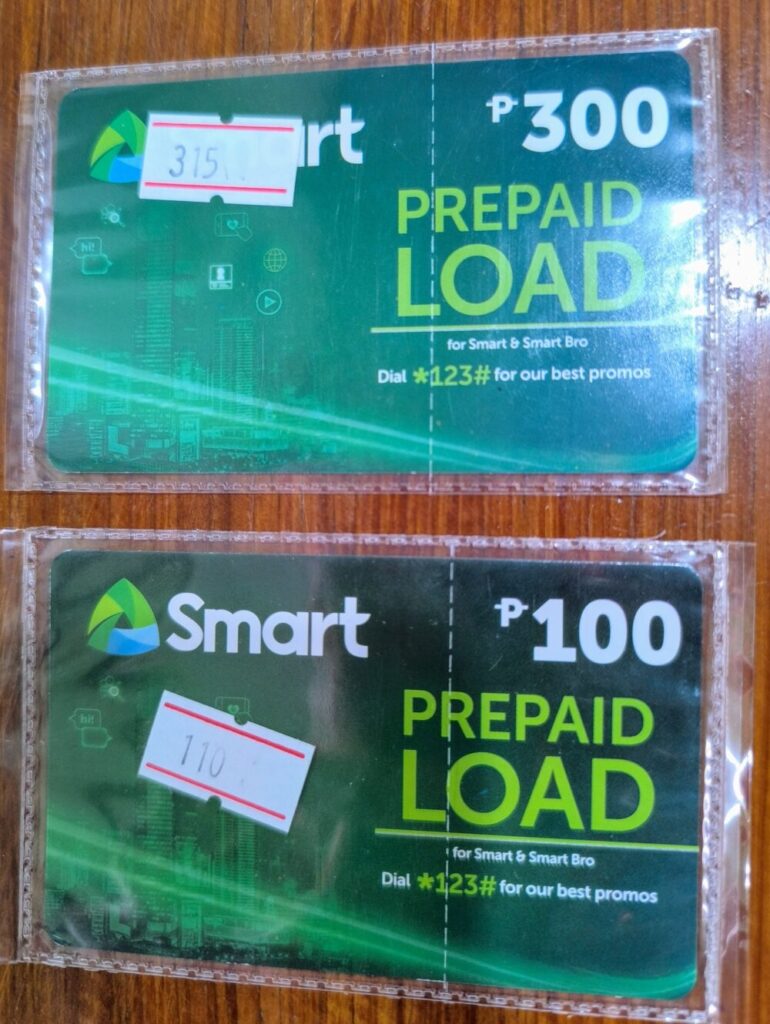
The reason I prepared a card for 400 pesos this time is to purchase a plan with unlimited duration.
Charge the amount for the load card to your SMART account and purchase the plan.
The procedure is as follows.
- Scratch off the scratch area on the reverse side.
- Call out “1150” + code on phone app.
- Call *123# to purchase a plan
Scratch off the scratch area on the reverse side.
On the back is a scratchable area that can be scraped with a coin and contains a 14-digit code required for recharging.
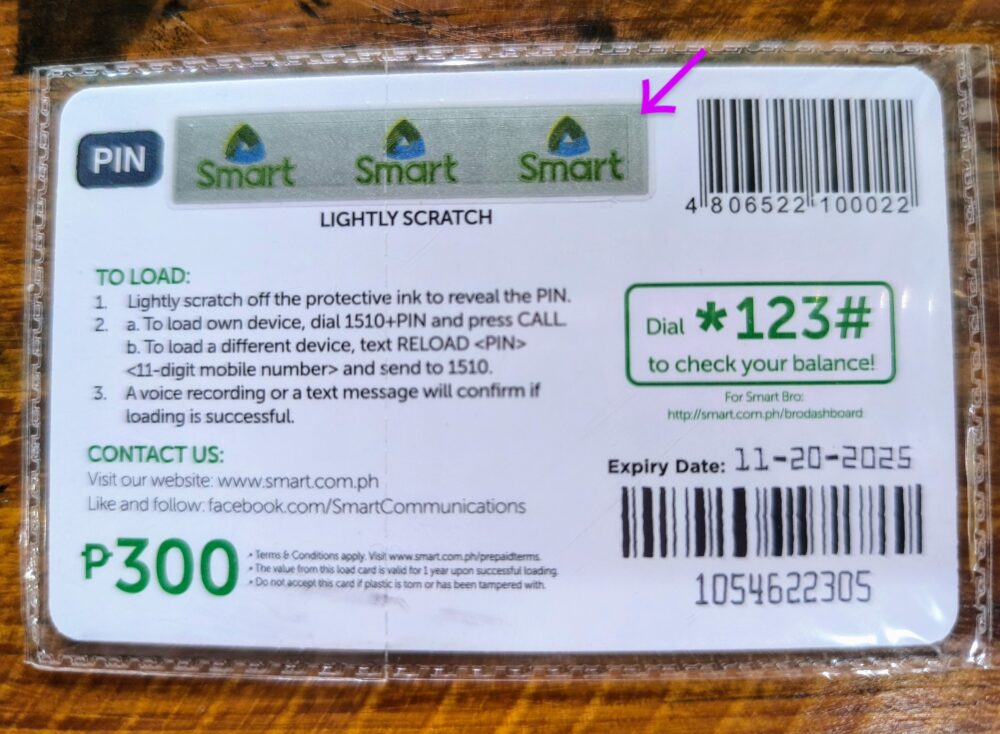
Call out “1150” + code on phone app.
Start the phone application, enter 1150, followed by the 14-digit number in the scratch section, and make a call.
The amount of the face value of the card will then be charged. If you have more than one load card, the same procedure is used to charge the card.
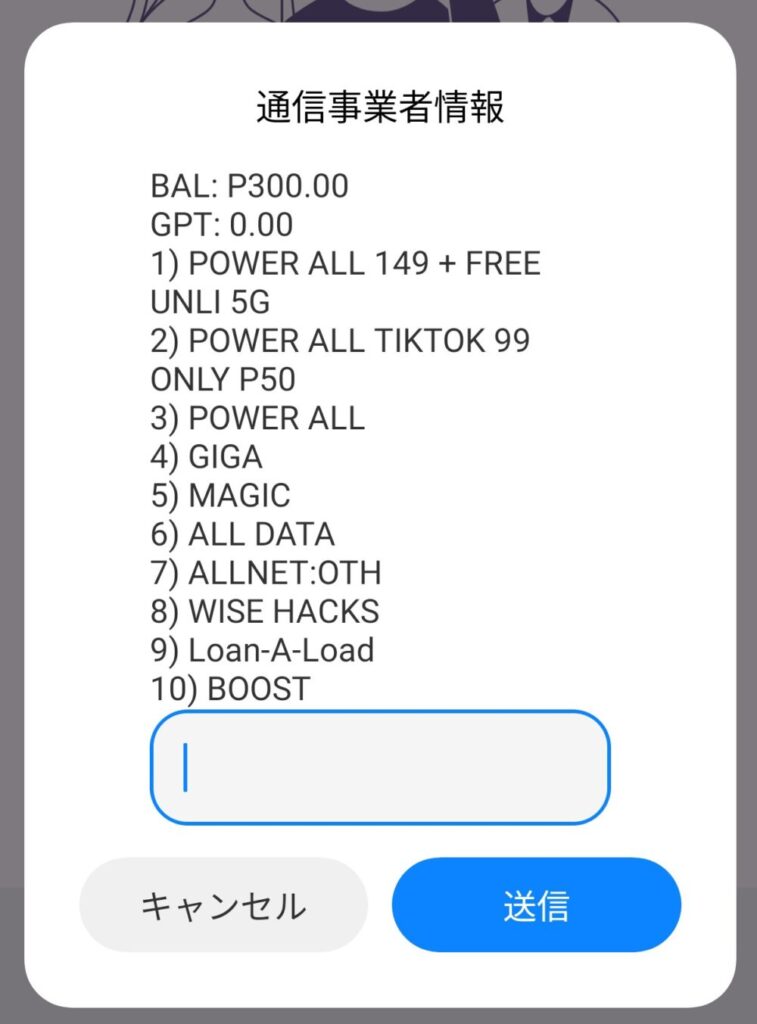
Call *123# to purchase a plan
Type *123# in the phone app and you will be prompted to choose a plan.
Basically, you buy up all your data, buy only 5 GB of it, and when you use it up, you are done.
Also, check the expiration date. Some have shorter periods, such as 7 or 14 days. International students who are staying for longer are likely to stay for one or three months, so choose a plan that can be used for as long as you want.

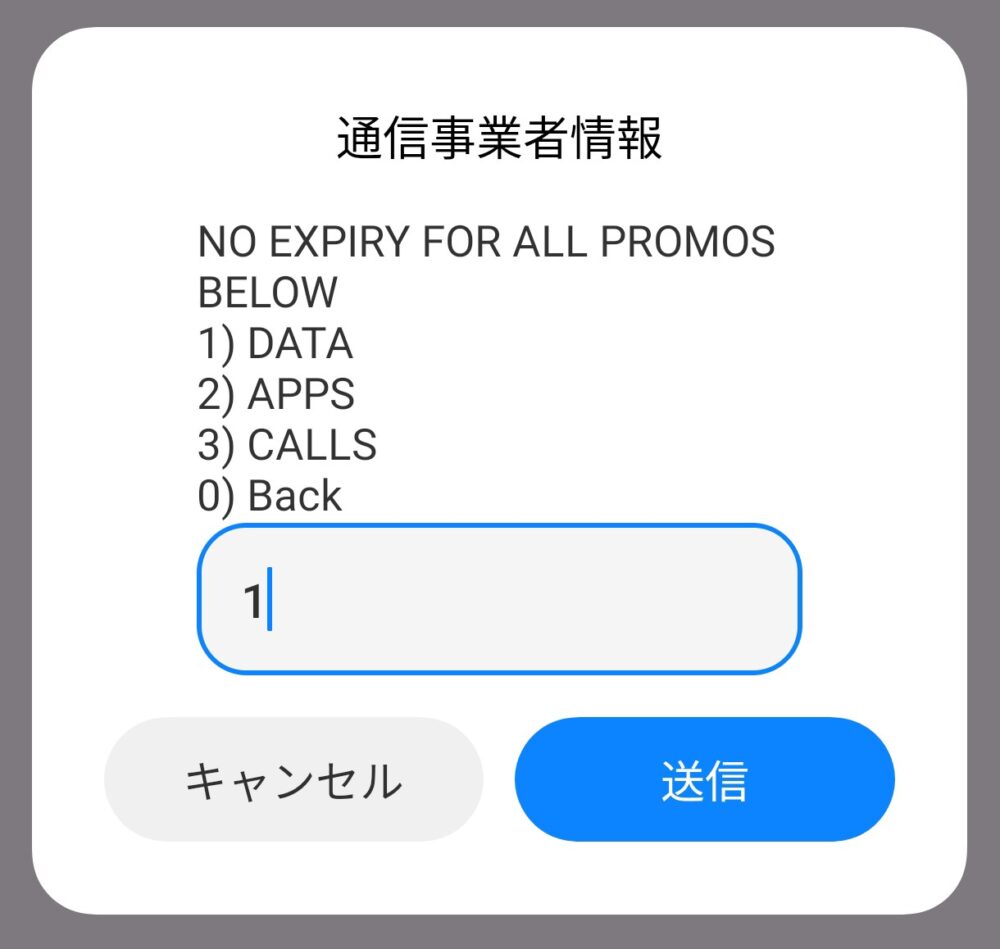
Recommendation 5)MAGIC. You can use unlimited data until you reach your data allowance.
After selecting 5) MAGIC, several plan options will appear.
If you will not be making any local phone calls, choose 1) DATE.
Next is the choice of data capacity. We recommend 3) 24 GB.
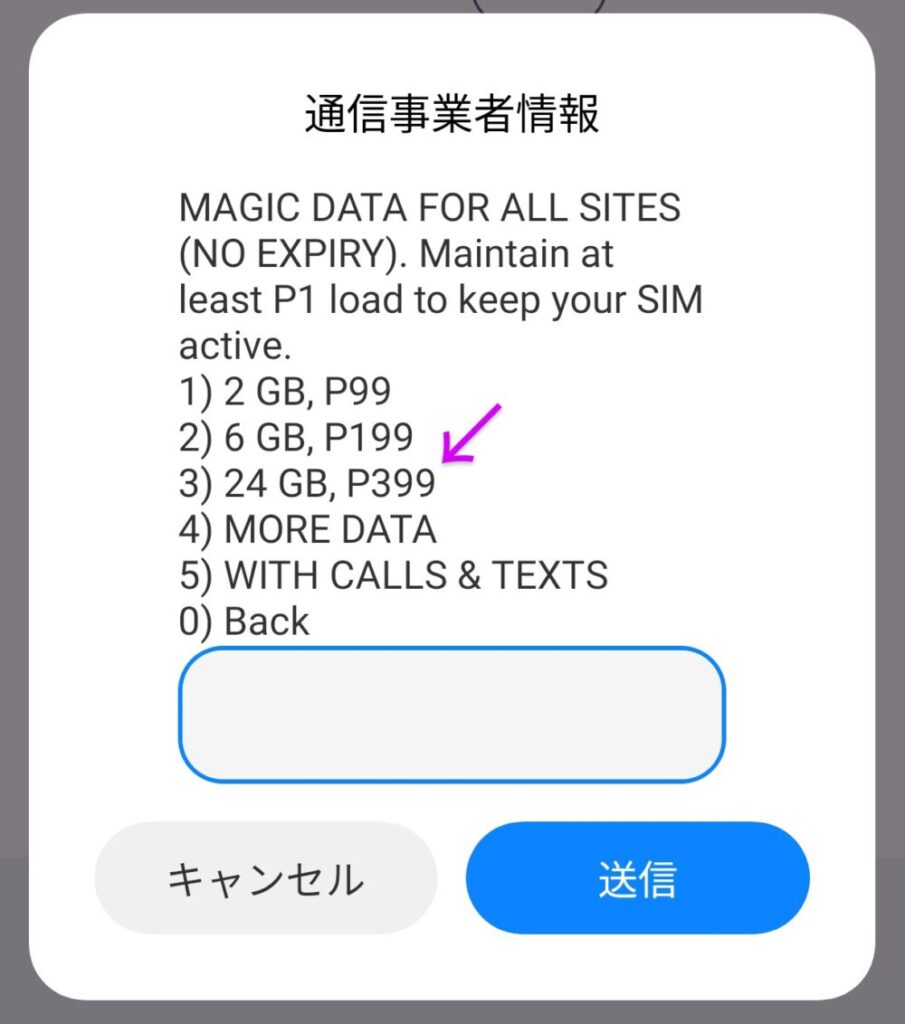
With 24GB, you should be able to stay for several months and not run out by using it with wifi.
The 24GB plan costs 399 pesos, which is why we prepared a 400 peso load card.
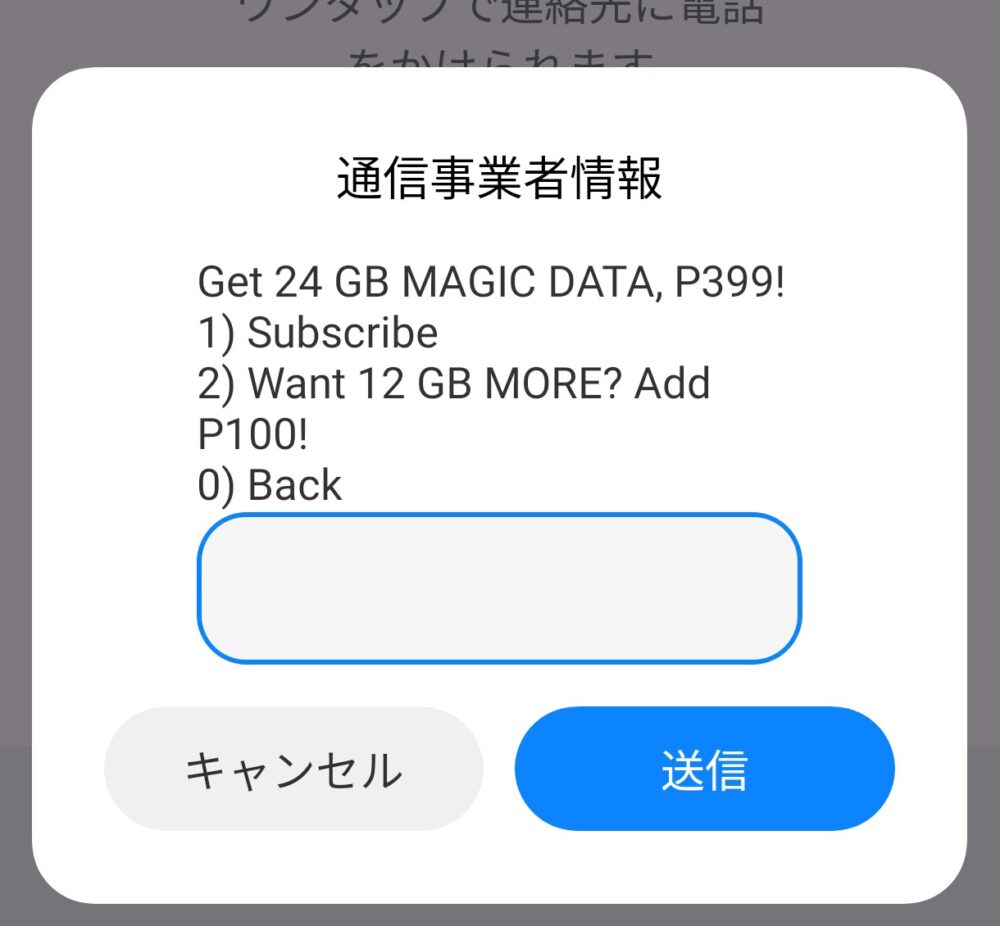
If you were able to charge the 400 pesos mentioned earlier, you can subscribe to the plan immediately by selecting 1) Subscribe, and data will be available.
You can skip this screen.
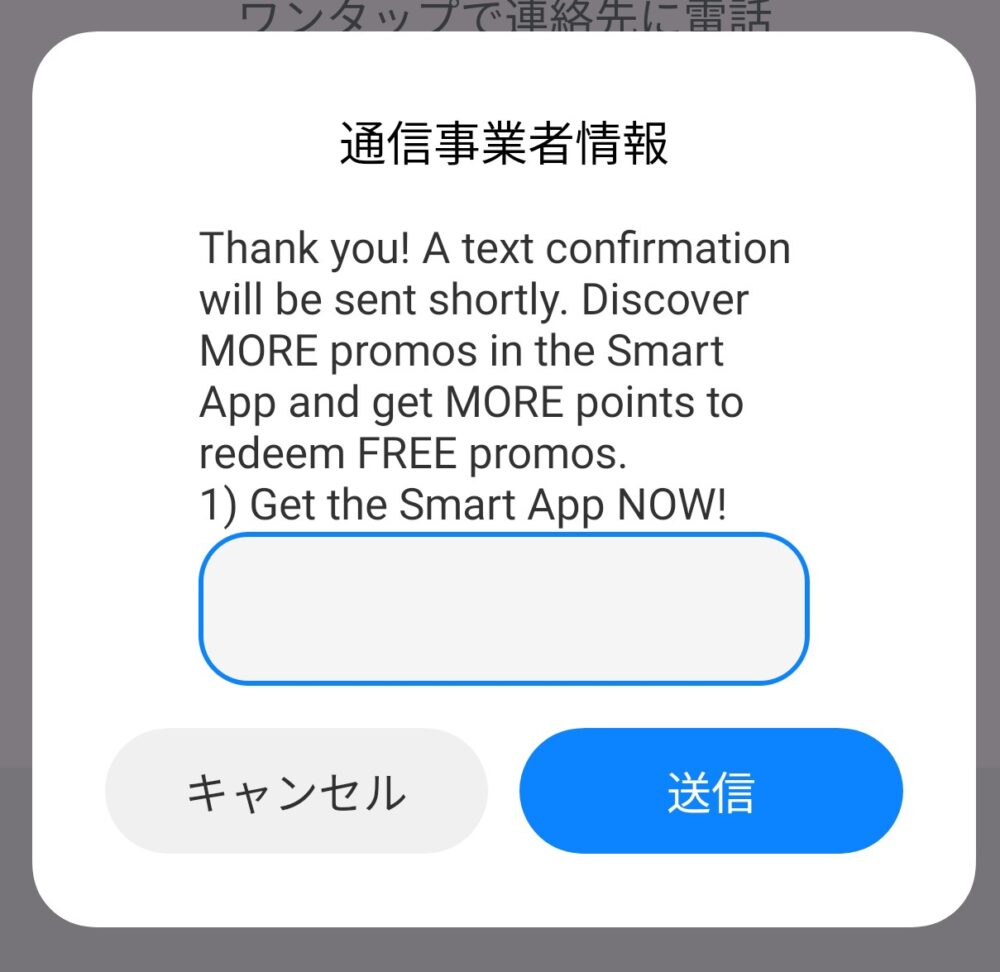
If you have successfully purchased a plan, you will also receive a message on your SMS.

This completes the registration procedure for the SMART SIM card! Thank you for your time.